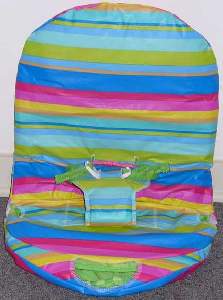
Assembly of DCMC/PICU Bouncy Seat Pad Cover
Fisher Price brand, Rainforest Bouncer, model K2564
Note:
- Work all serged thread ends back through a seam or on the back side of stitches.
- Pins can be used, but place them within the seam allowance only.
Avoid pin holes that may be visible.
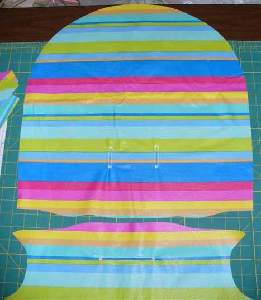
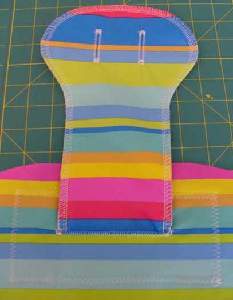
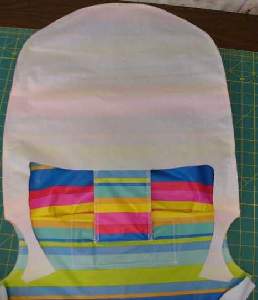
- As marked on the pattern pieces, zig-zag buttonholes on Front top and bottom pieces, as well as on the front side only of the Tongue piece.
Suggested zig-zag settings on sewing machine:
For the tacks on each end: 7.0 wide by 1.0 long.
For the long bars: 3.5 wide by 1.0 long.
Cut open the buttonholes.
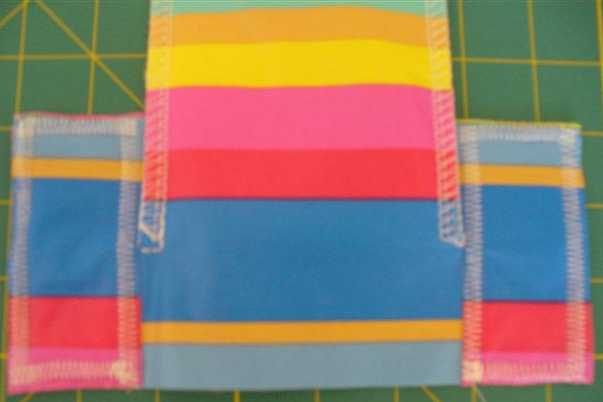
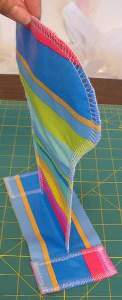
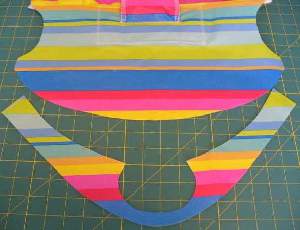
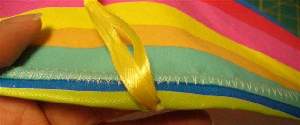
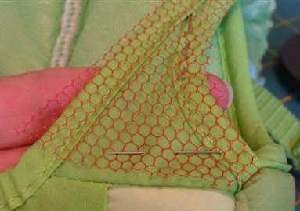
- Serge Tongue pieces together around outside edge, wrong sides together. See the picture above.
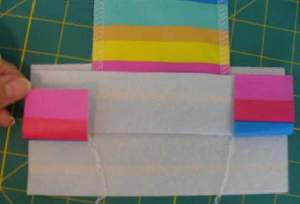
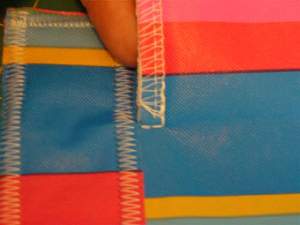
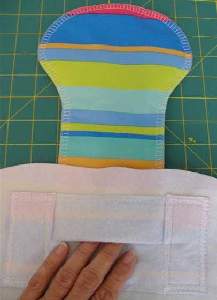
- Zig-zag the Tongue foot together (zig-zag settings: 4.0 wide by 4.0 long). Look at this next series of pictures to get an idea of how to accomplish that task
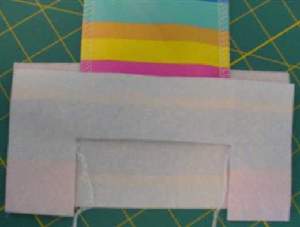
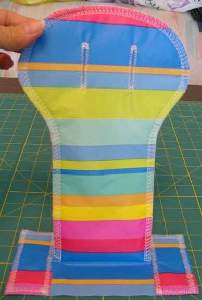
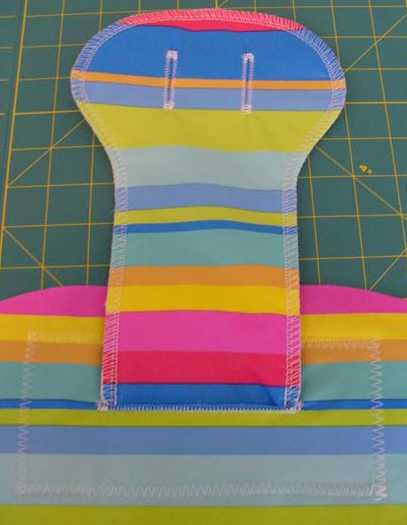
- Insert completed Tongue through buttonhole on Front bottom piece.
NOTE: BUTTONHOLE ON TONGUE FACING OUT!
Lay right side of Tongue foot flat against wrong side of Front bottom piece
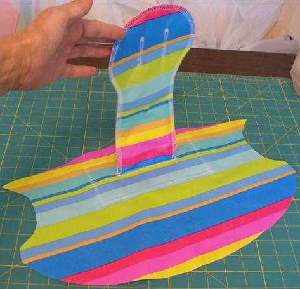
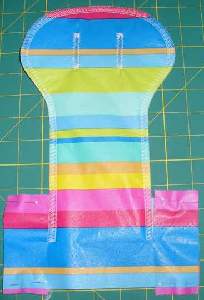
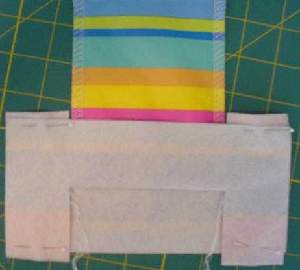
- Zig-zag Tongue foot around outside edge (zig-zag settings: 4.0 wide by 4.0 long)
- Sew (with long basting stitch) or zig-zag (with 4x4 setting) around Tongue opening.
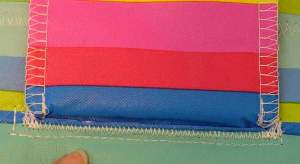
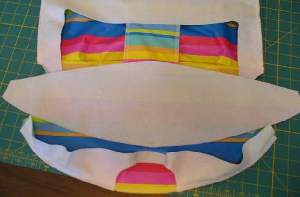
- Serge Front top piece to Front bottom piece as shown below, right sides together.
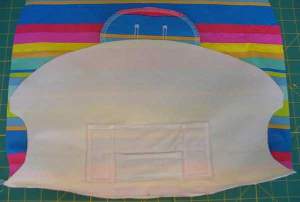
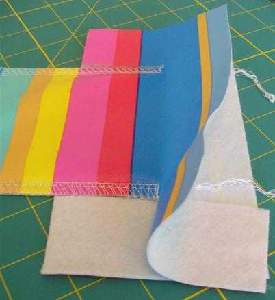
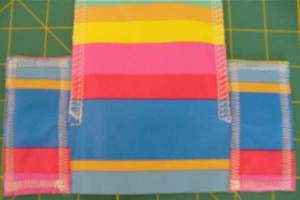
- Prepare the Gusset piece (seen at left below) by serging around the curved inside edge.
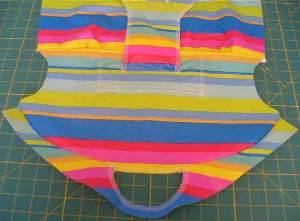
- Serge Gusset onto Front bottom piece, right sides together, placing Gusset opening at marks on Front bottom piece.
Serge across entire seam, which finishes off the opening created by the Gussset piece.
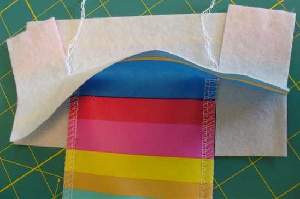
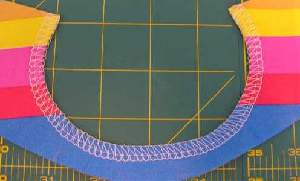
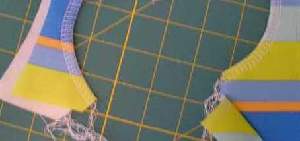
- Prepare the Front top and Back top pieces by serging around the curved inside edge on each side of each piece, as shown below.
- Serge the Front top and Back top pieces together, right sides together, from the top of one inside curve to the top of the other inside curve, as shown below.
- Prepare the Back bottom piece by turning up enough of a casing along the non-seamed edge.
NOTE: Cut ribbon 1.5 times the width of the casing. Feed ribbon through casing, stitching across each end to stabilize ribbon.
Pull ribbon through the slit in the middle and tie half knot in excess length to prevent it from being pulled back into the casing.
- Serge Back bottom piece to remaining Gusset seam, right sides together.
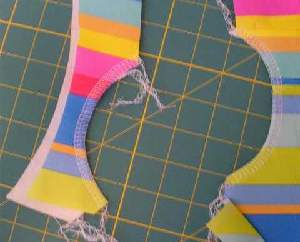
- Serge bottom "tabs" from the Back top piece to the combined seam of the Gusset edge and Back bottom piece, right sides together. This is tricky, to be sure. Use the following pictures to get your brain around it.
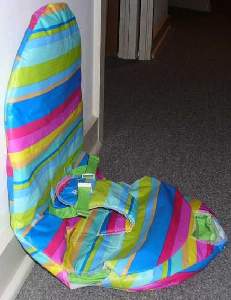
Voila! You have completed a Fisher Price brand, Rainforest Bouncer seat pad cover, model K2564.